|
    
[1]
[2]
[3]
[4]
[5]
[6]
[7]
[8]
[9]
[10]
[11]
[12]
[13]
[14]
[15]
[16]
[17]
[18]
[19]
[20]
[21]
[22]
[23]
[24]
[25]
[26]
[27]
[28]
[29]
[30]
[31]
[32]
[33]
[34]
|
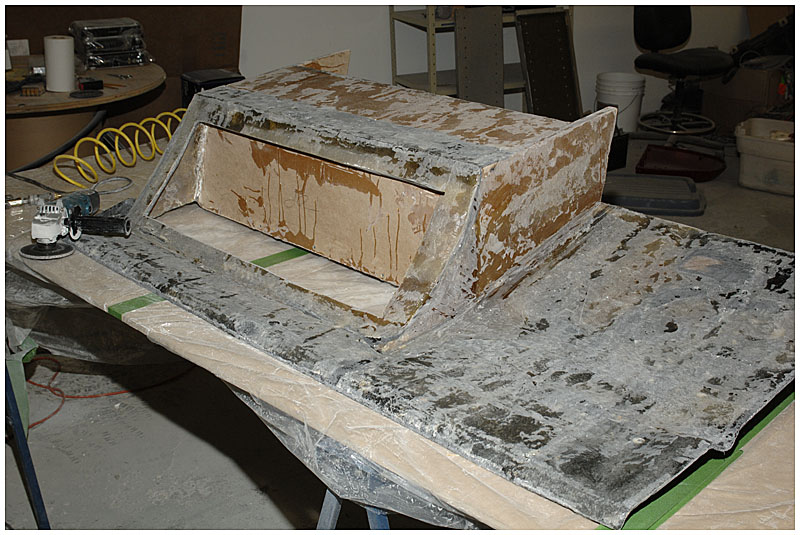
Sometimes in a project you have to reach a point where you admit the concept was not a good one and either correct it or start over. That is exactly what happened with the "bridge". When the resin was originally applied to the fabric, it sagged under the weight before it hardened. I didn't think much of it at the time figuring I would just correct it with extra fiber glass but as I applied more and more layers it was becoming obvious that this was not the solution. Finally, with the glass getting so thick in some areas that I had concerns about getting bolts through it, I gave up and cut the thing off:
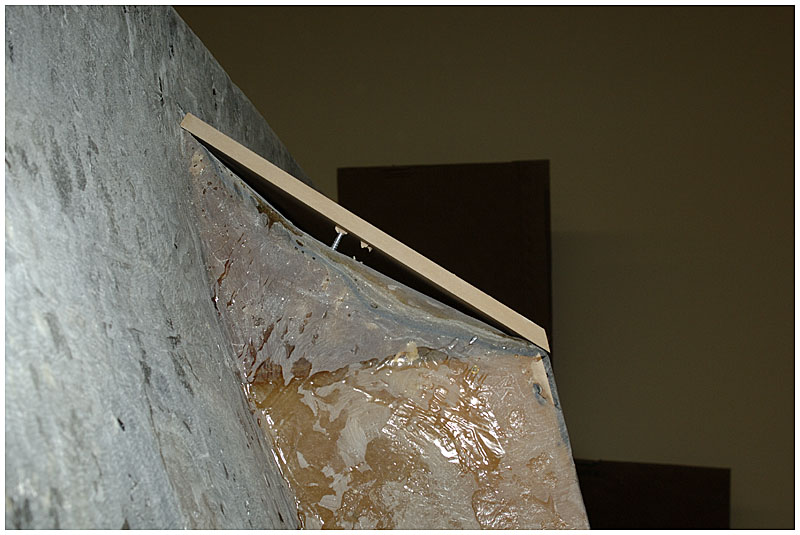
I replaced the entire top with a piece of MDF to keep it nice and flat. You can see when I laid the MDF on it just how bad that sag was and how thick the glass was getting:
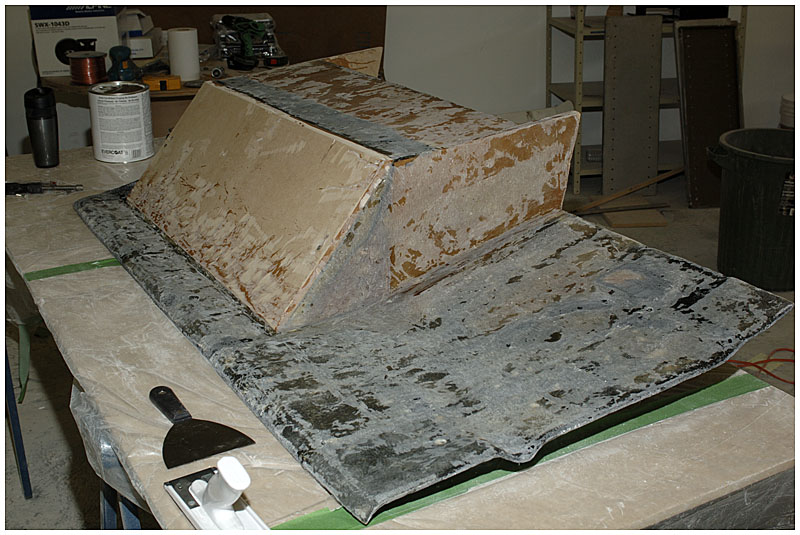
Now I have a flat surface and with only a bit more glass I finished the roughing:
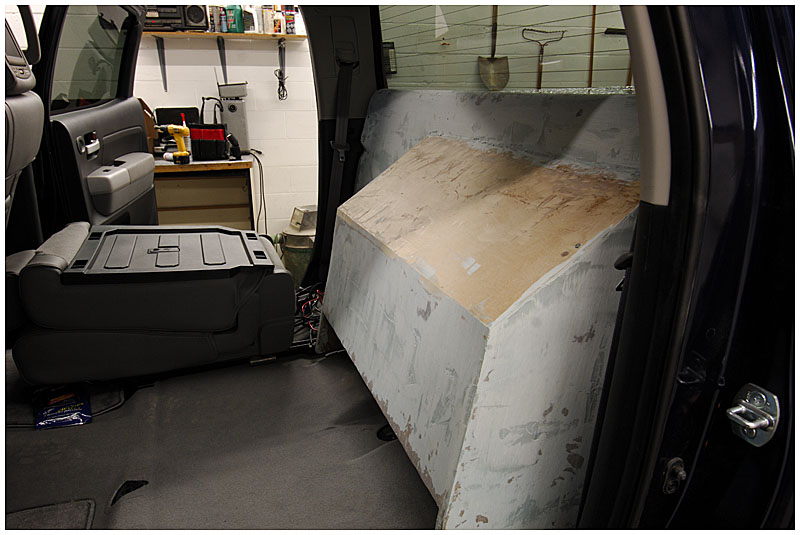
Next, of course comes the body filler. Here is the "finished" box being test fit in the truck:
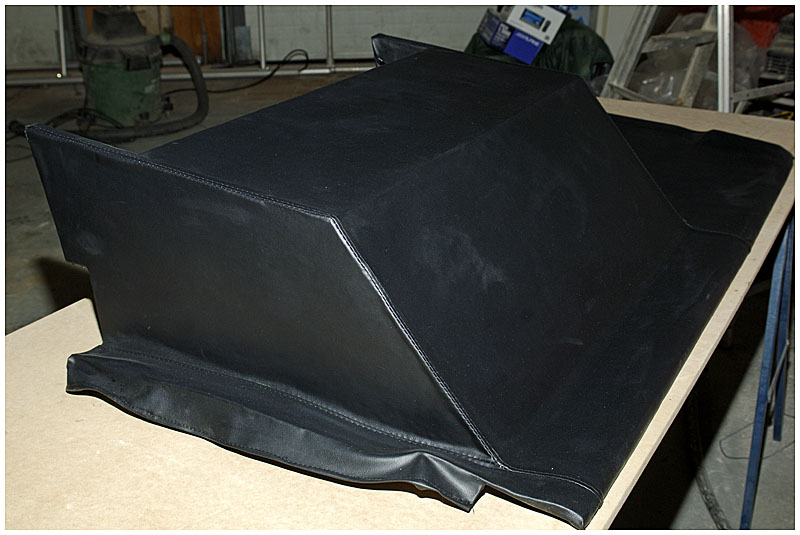
I didn't have to completely smooth it out with the bondo. It only had to be "smooth enough" because from here I brought it to an upholstery shop where they covered it with vinyl:
The whole concept with the vinyl is so I can have the "pebbly" texture to match the interior. It looks black in the above pic but it is actually a dark bluey-grey.
| ||||